

Story by Ariana Alcantara & Jacqui Burns
When a client has a flare for the dramatic, this can be an exciting venture for many designers. There are endless ways to add visual drama, but it has to be done right so as not to enter Graceland territory. For this project, designer Jacqui Burns heavily focused on specificity in marble materials and details in cabinetry shape to add the dramatic depth that the client was looking for.
In this historic house they wanted to both create something true to the historic style, while still infusing the space with personality. The home was built in a Spanish Revival style so there already existed a flare in its character, but the clients were looking to take the outdated kitchen and transform it into something fabulous. Jacqui noted that the clients have, “an incredible sense of style, which highlighted how bad the kitchen was.” So, in order to take the kitchen from drab to fab, Burns worked dedicatedly to realize the design vision. This would not always prove to be easy though, as drama in every sense of the word, presented itself throughout the project. In the end, Burns gracefully navigated the challenges to deliver a beautiful final product.
Below are notes from the designer herself on how each dramatic detail brought the project to life.
Marble Backsplash
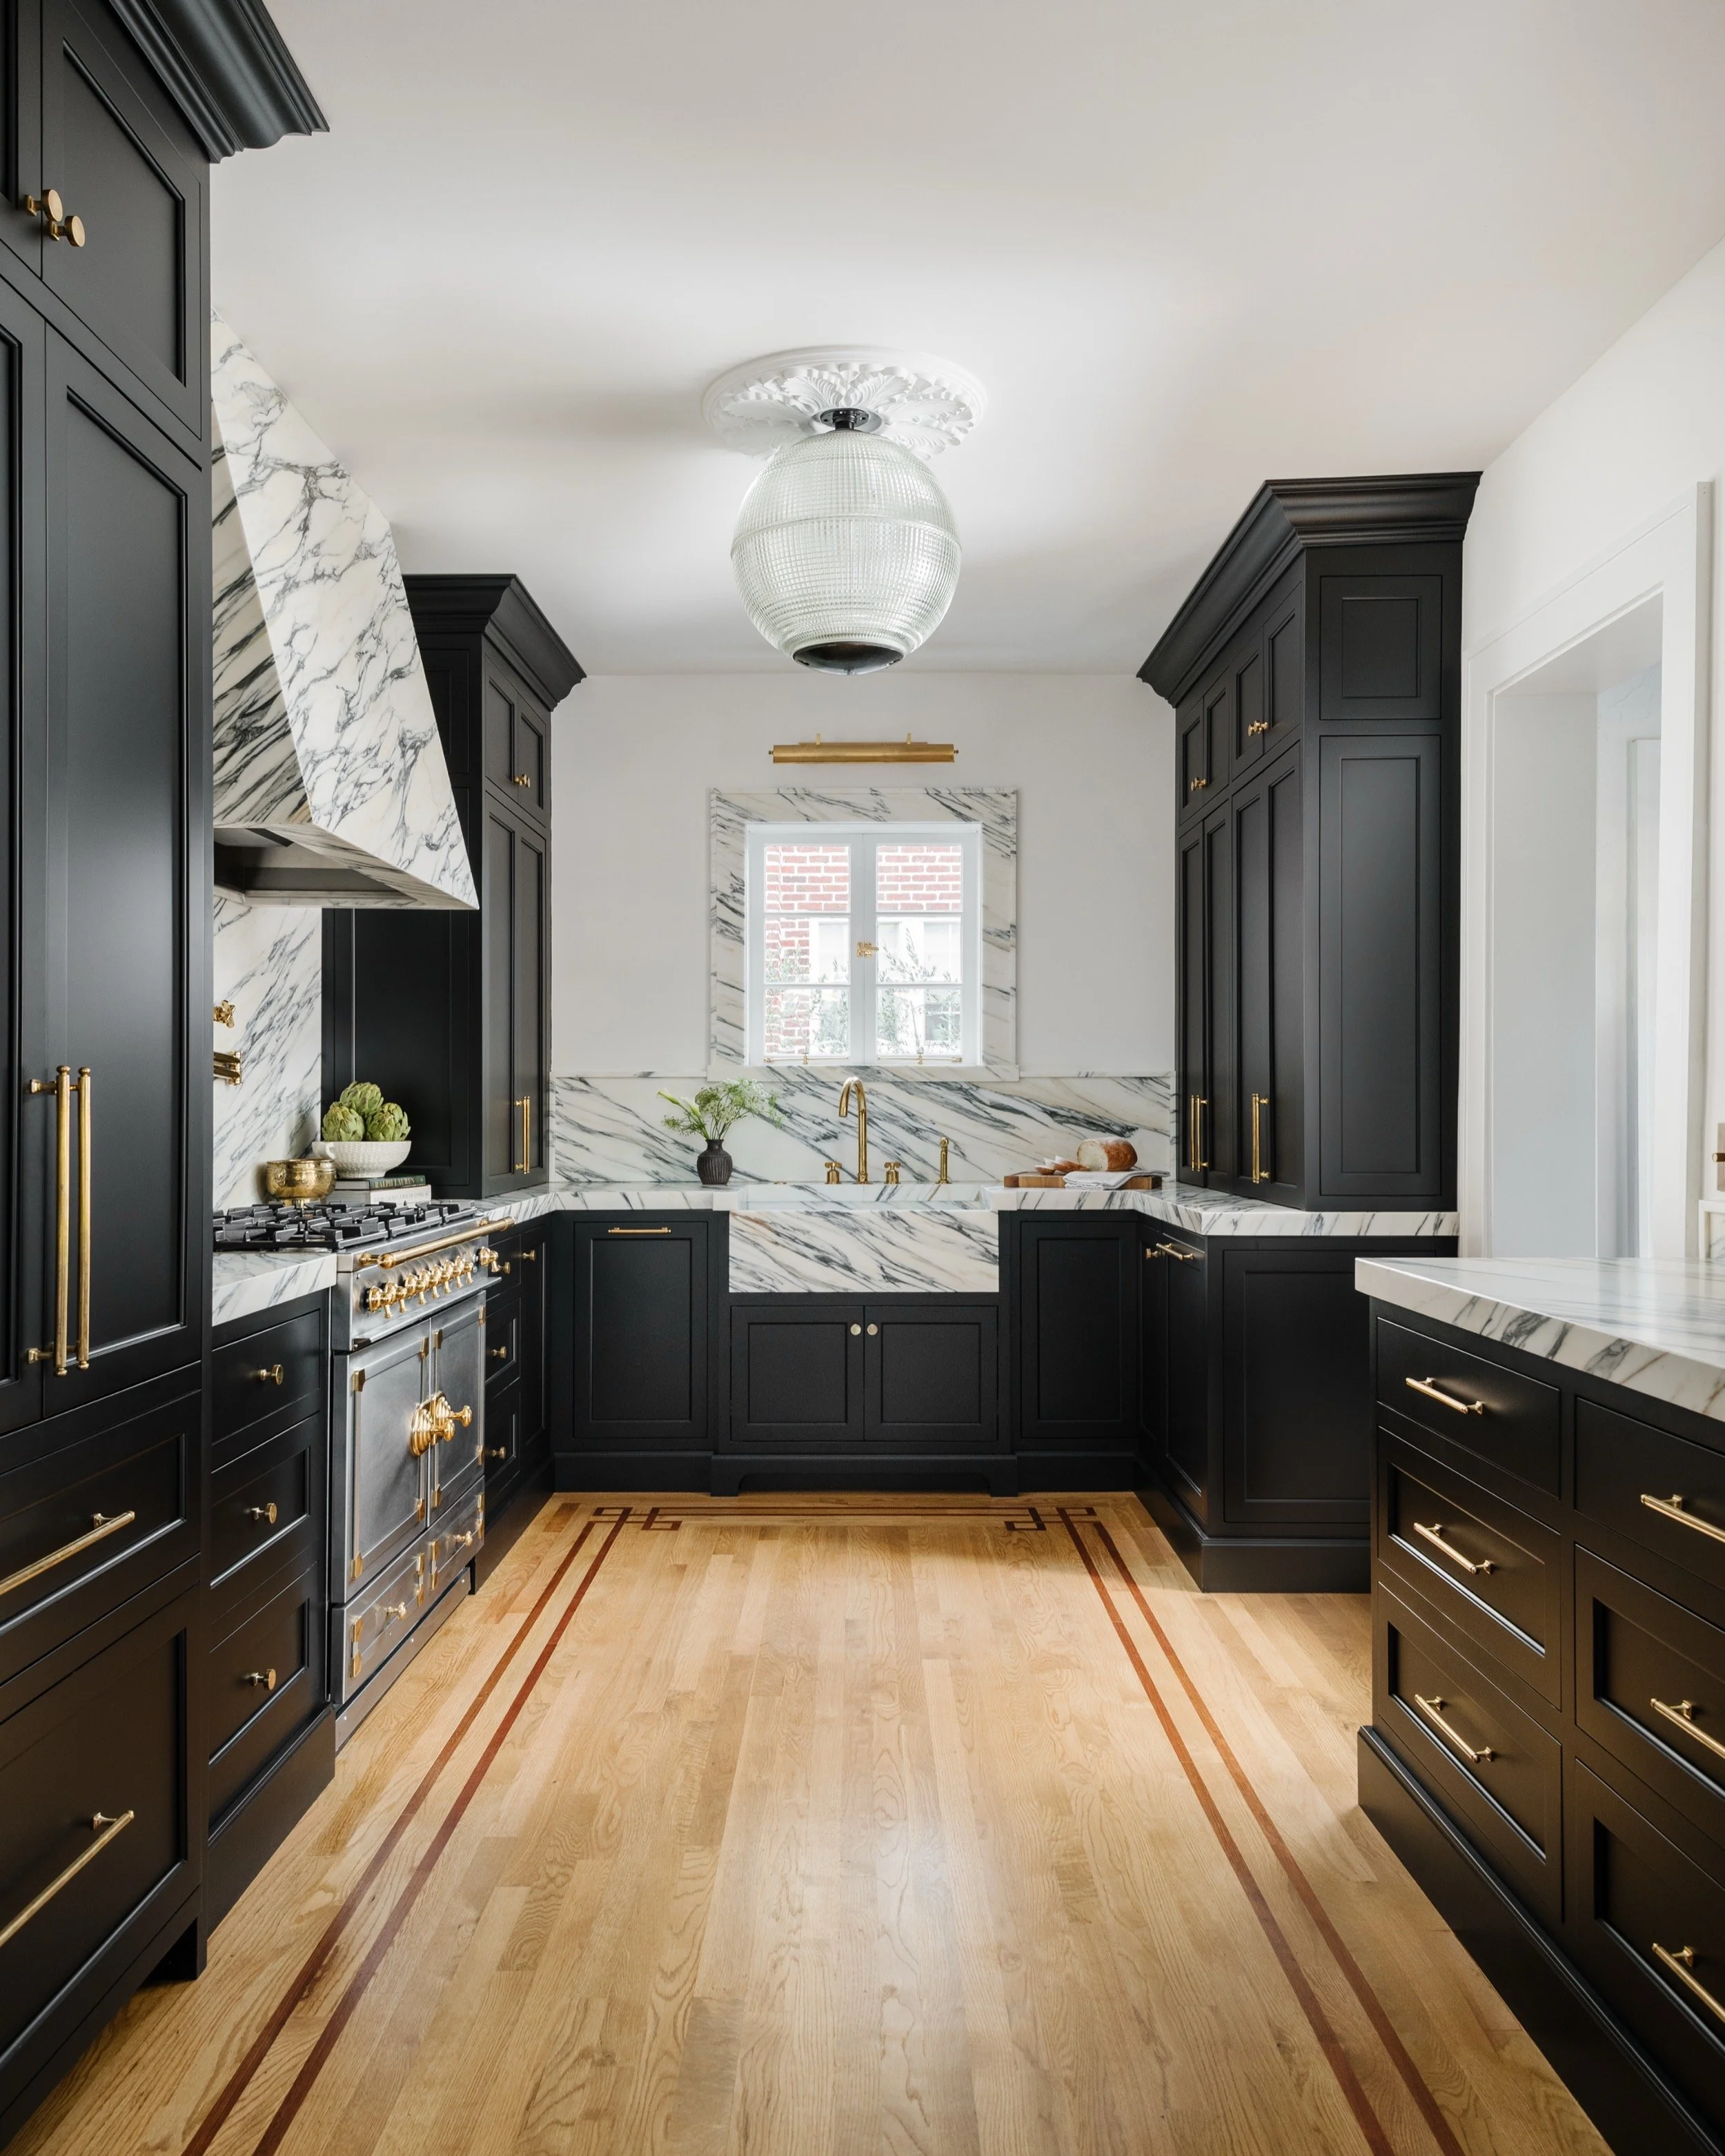
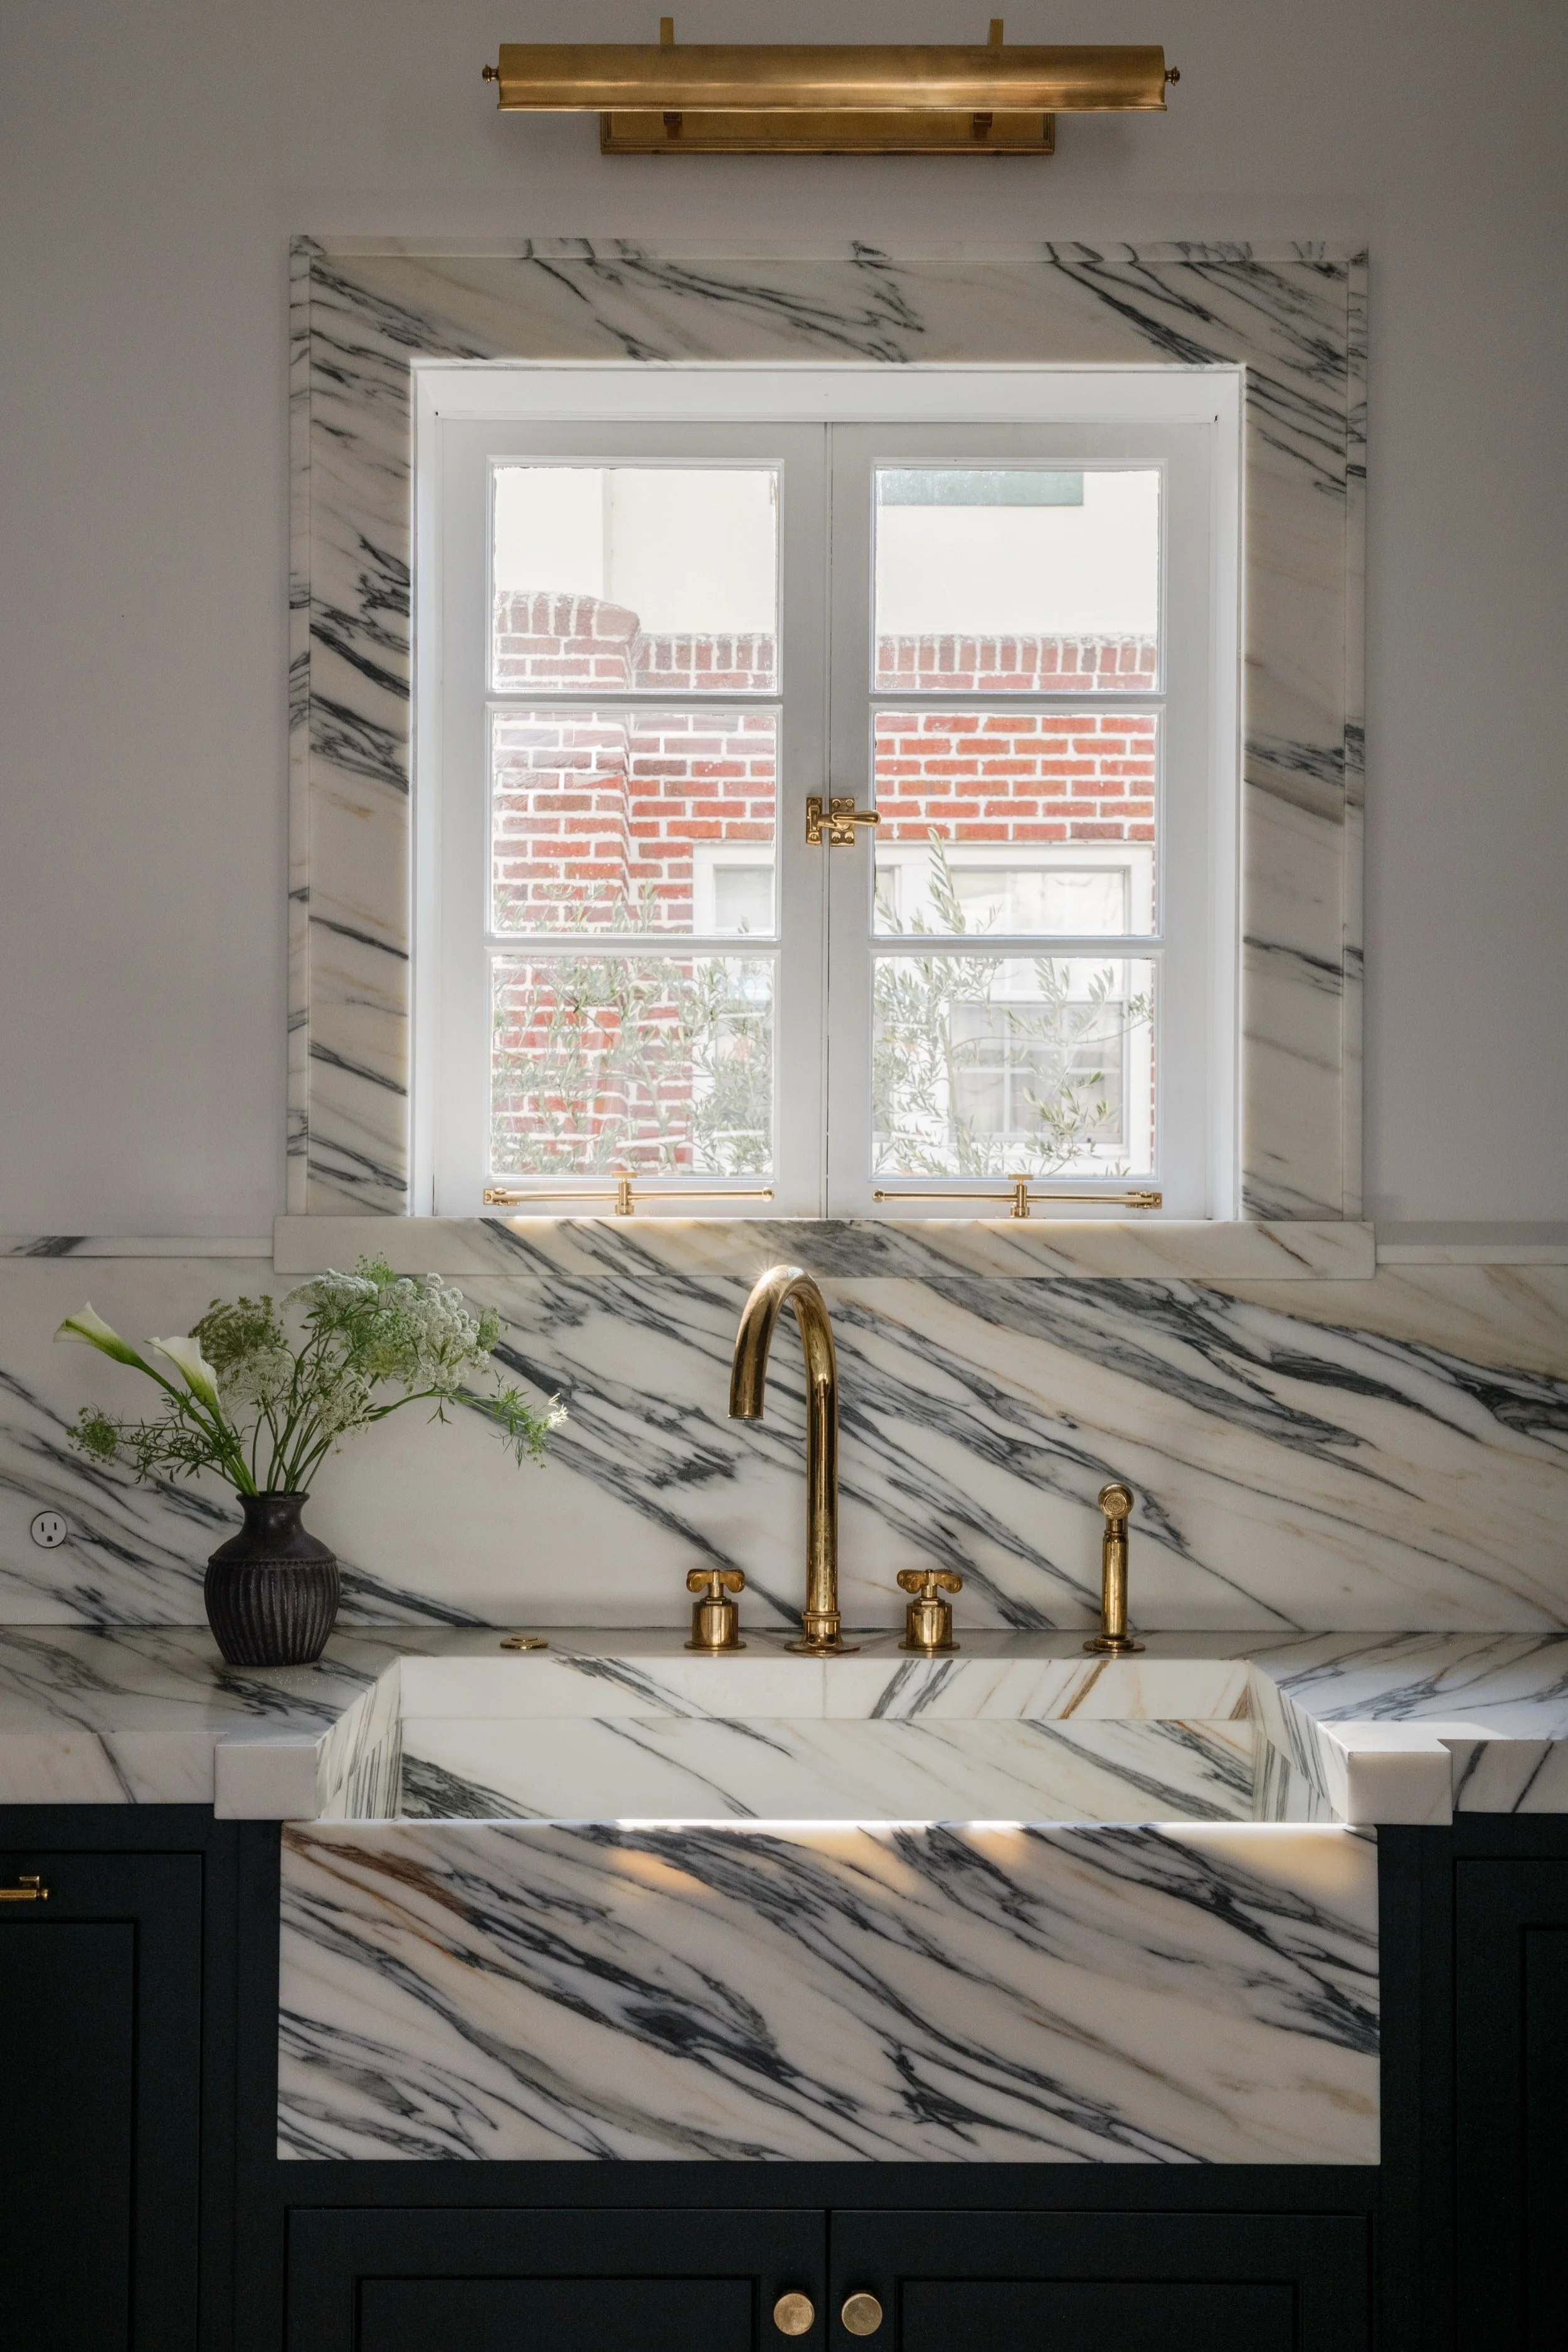
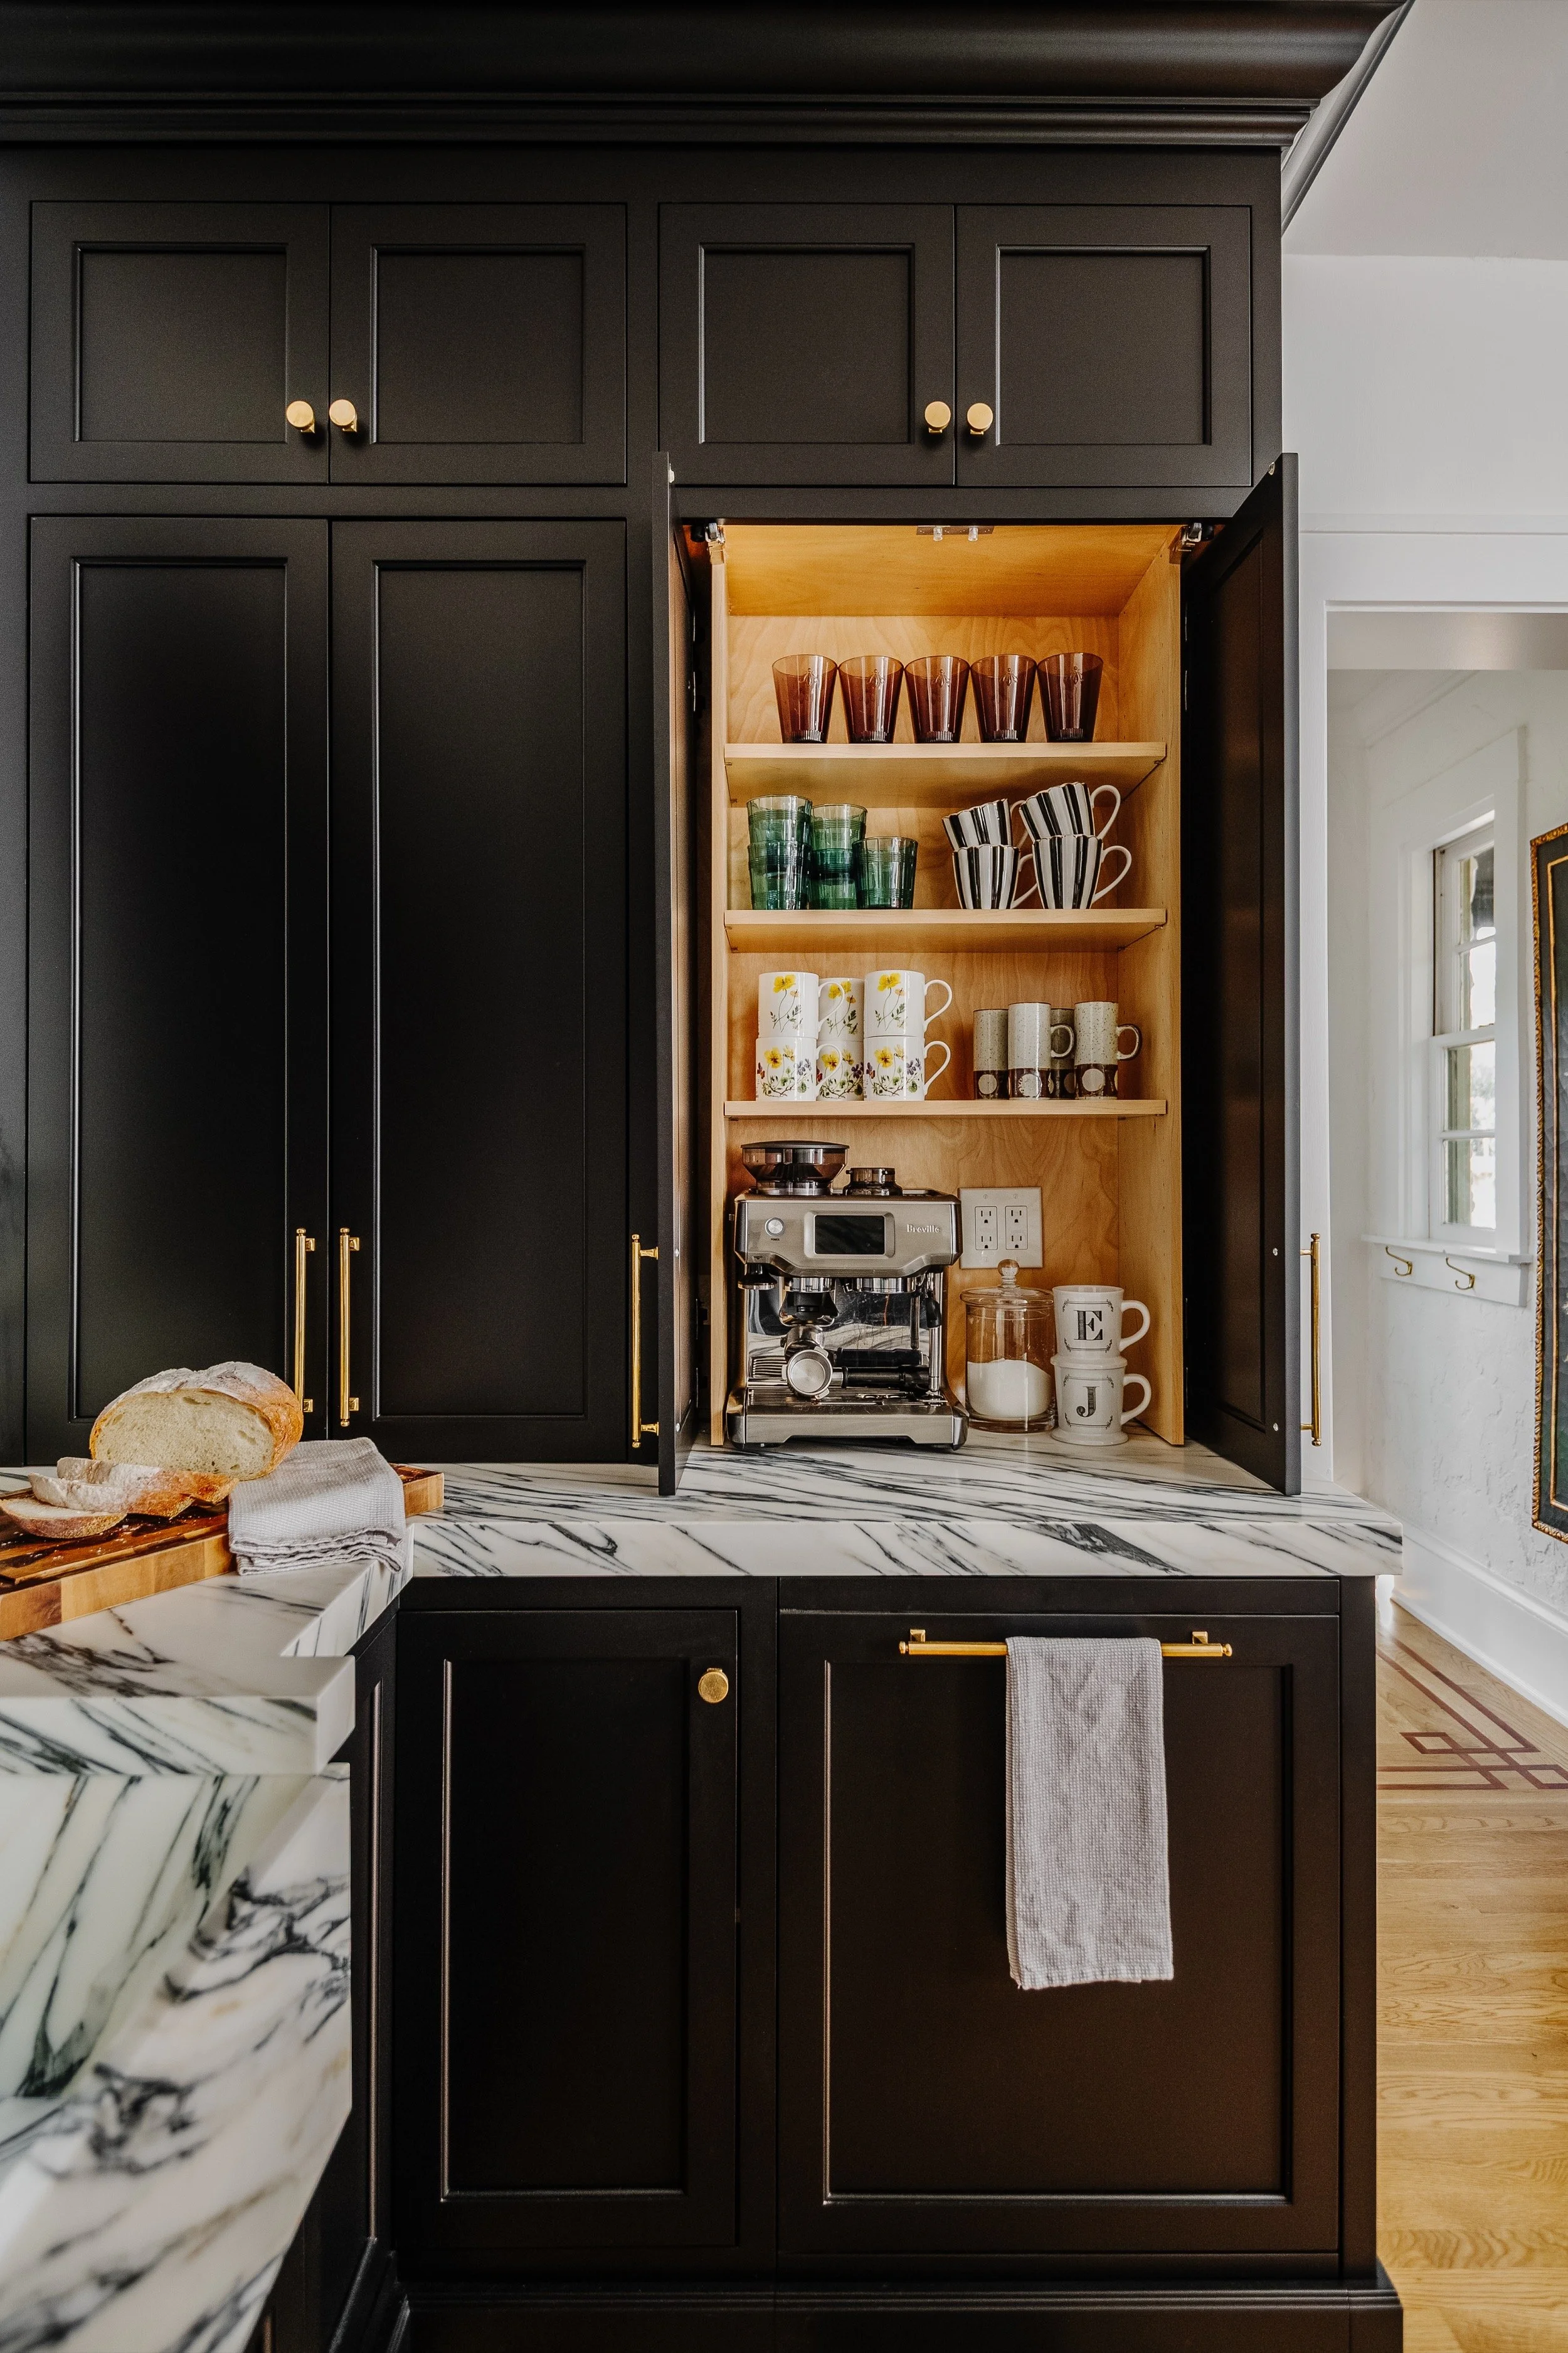
As mentioned above, the client has a flair for the dramatic, and from the beginning he wanted marble countertops and a showstopping full height marble backsplash. From here we decided to do a half backsplash at the sink wall, marble sills for both kitchen windows, casing for both kitchen windows and the marvelous range hood. We used 4 slabs of stunning Arabescato Corchia honed marble throughout the entire kitchen to complete the project, a testament to a material’s ability to transform a space.
The Range Hood…More Marble
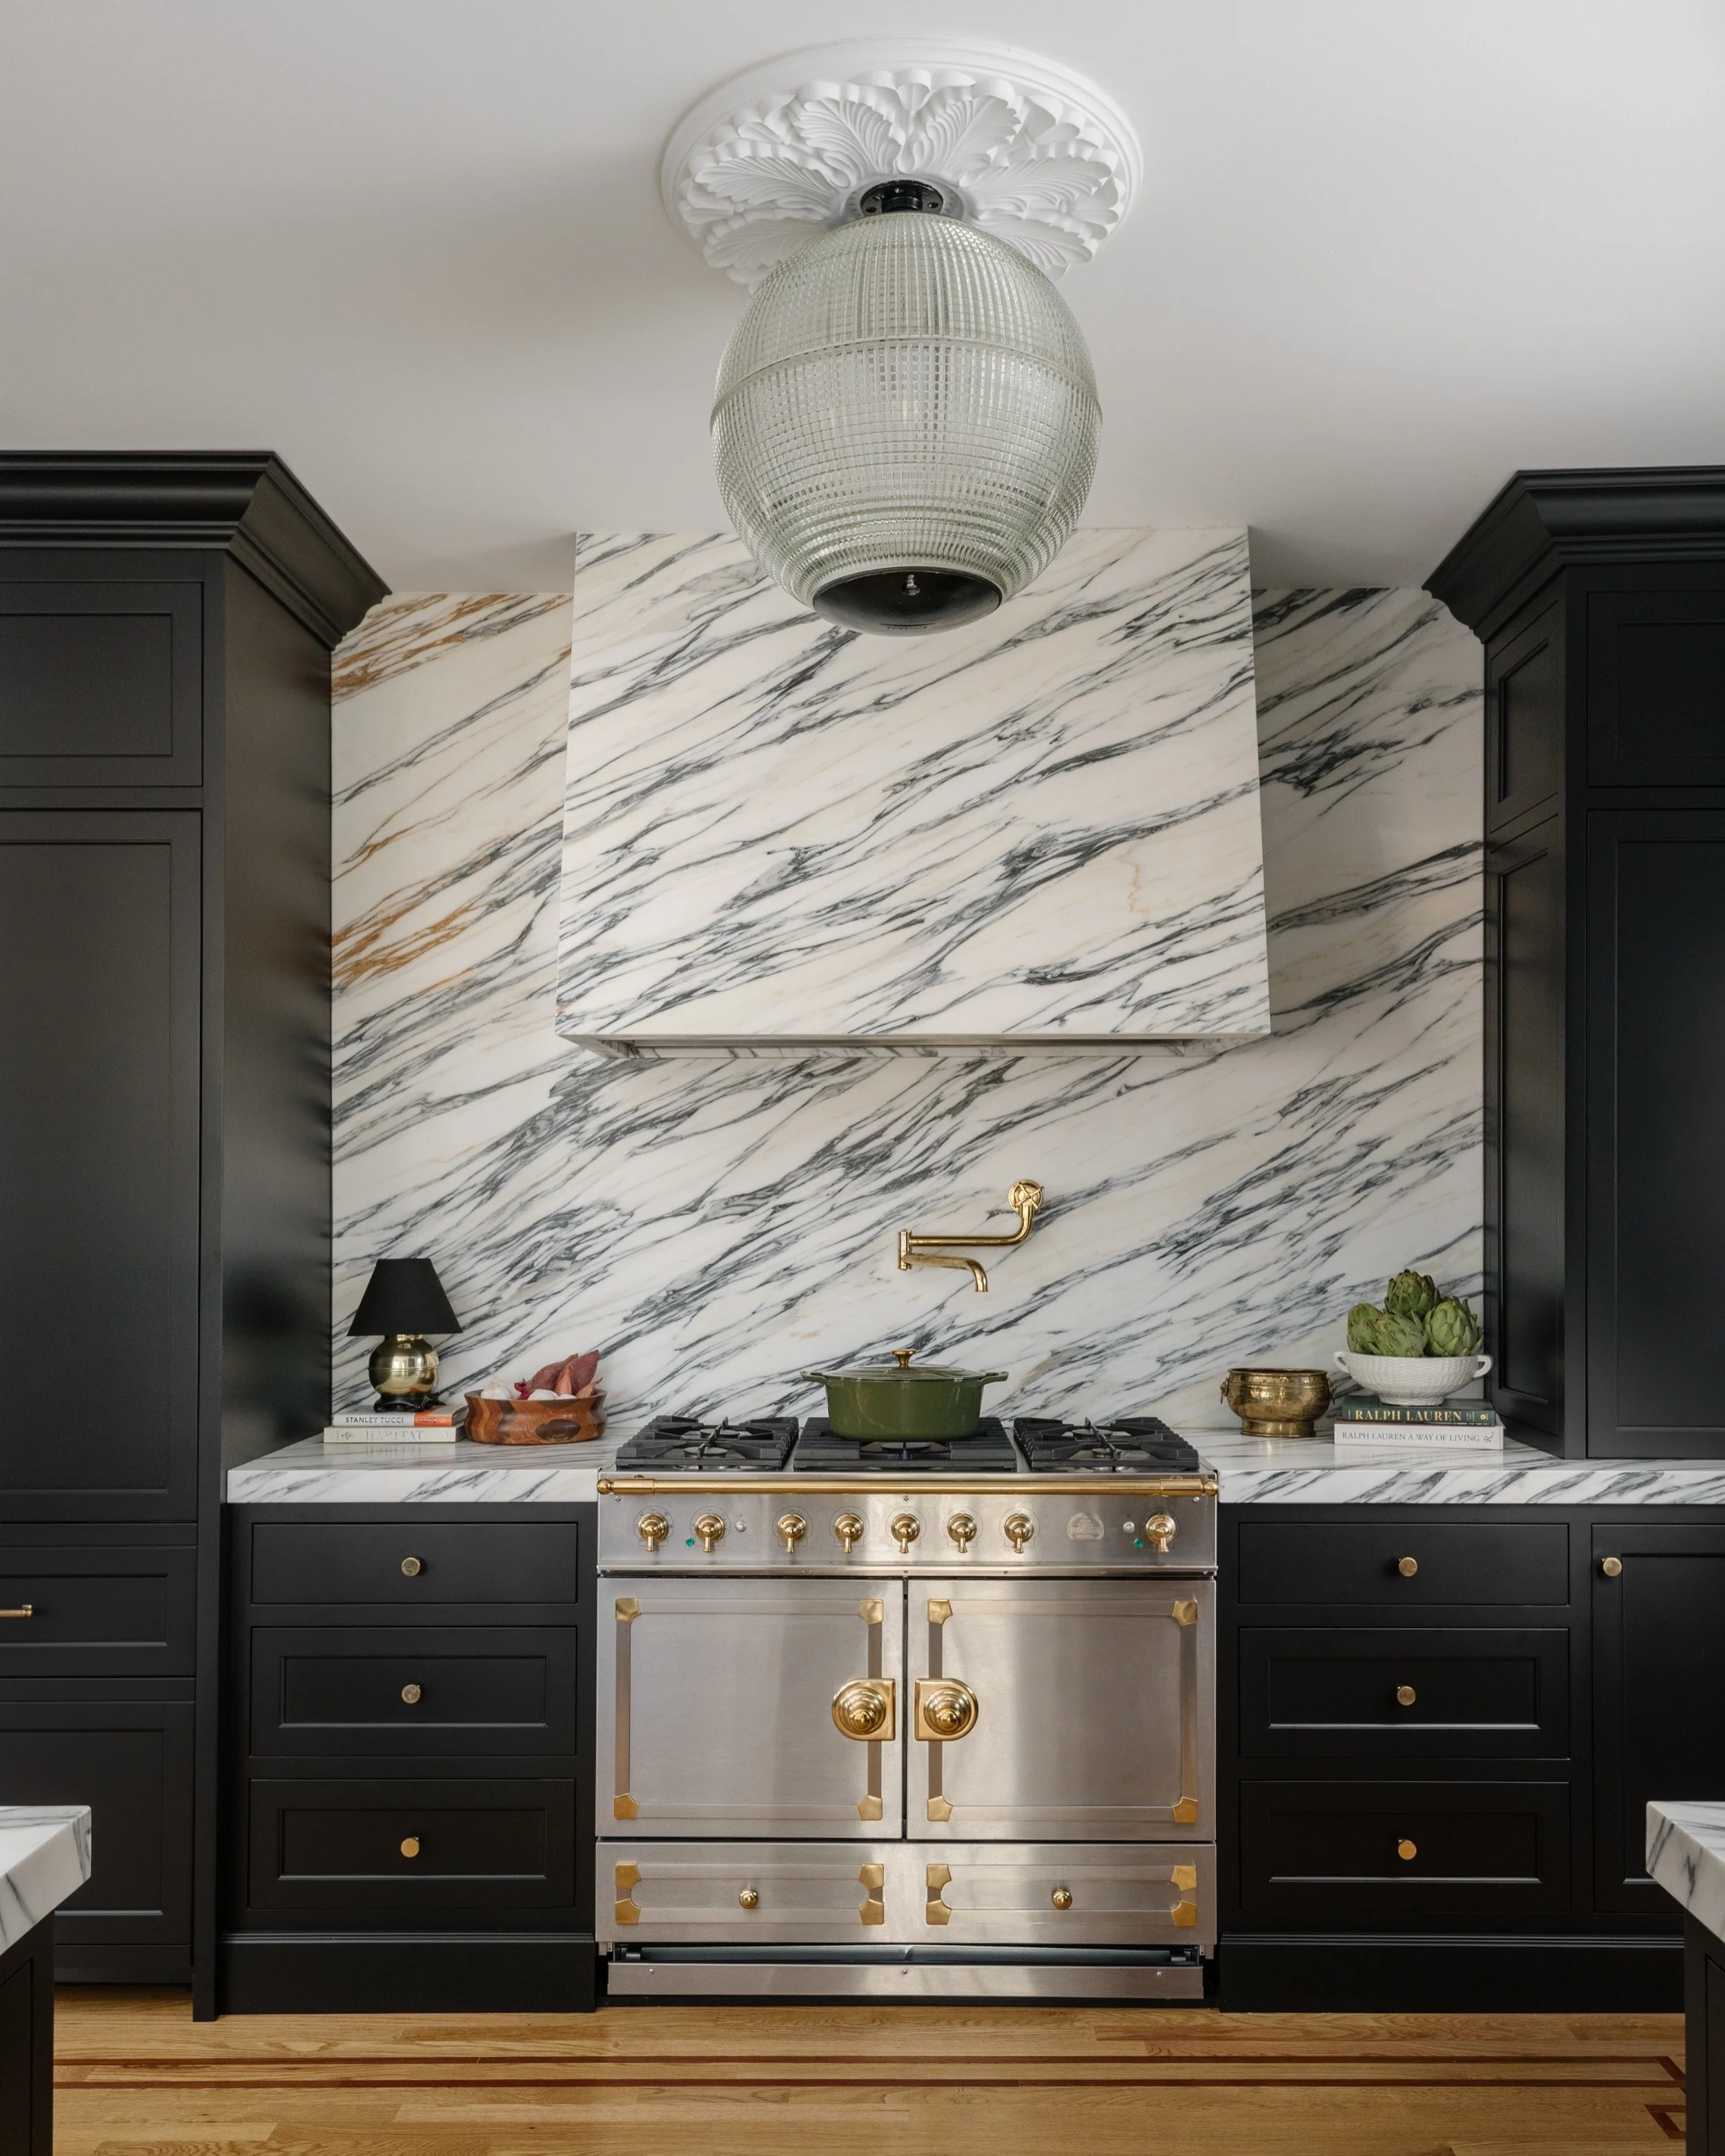
Initially, the one aspect that we could never settle on was the range hood. Obviously, it needed to be a big moment, but we just needed to figure out how to properly execute it. For a long time, the plan was to put a brass hood with stainless steel strapping to match his La Cornue range. Some time later, we found his soul-slab of marble, which changed everything. With the introduction of the Arabescato Corchia honed marble, the brass seemed like way too much to layer on top of the stone. Then we had a breakthrough – why not just do the entire thing in marble? This seemed like a great idea, now it was time to execute it. Easier said than done. Luckily, I partnered with one of the best stone fabricators in Jacksonville – Florida Design Works. The entire project was a group effort between me, Design Works and the contractor to make sure everything turned out perfectly.
On the day of installation, I was a nervous wreck. The full height backsplash was one whole piece of marble fitting between two cabinets, with a cut out in the middle to go around the hood. It was done this way because the client didn’t want any seams in the backsplash. Once this piece was moved in and all the pieces of the hood were secured, I could breathe a sigh of relief. From here, they had to build a support for the marble until it dried. The support ran along the bottom of the hood, down to the floor. Things were running smoothly, the marble was in, secured and drying, and then a few days later, I received the news: The front of the hood was cracked.
It was clear as day, a straight horizontal line sprawled across the entire. The only practical question was, how did this happen? Our main theory is that the French cleat used to attach the marble put too much stress on the fragile stone, cracking it during installation. Unfortunately, once an incident happens, the only way to move is forward, so we sprung into action. Since the marble was structurally sound, Design Works came out and tried to touch up the crack. The client still felt uncomfortable with the solution so we pivoted to a different one. Of course, before this, we had used up every square inch of the 4 slabs the client purchased. Luckily, Design Works was able to purchase a 5th slab and craft a new hood front.
Inset Cabinetry
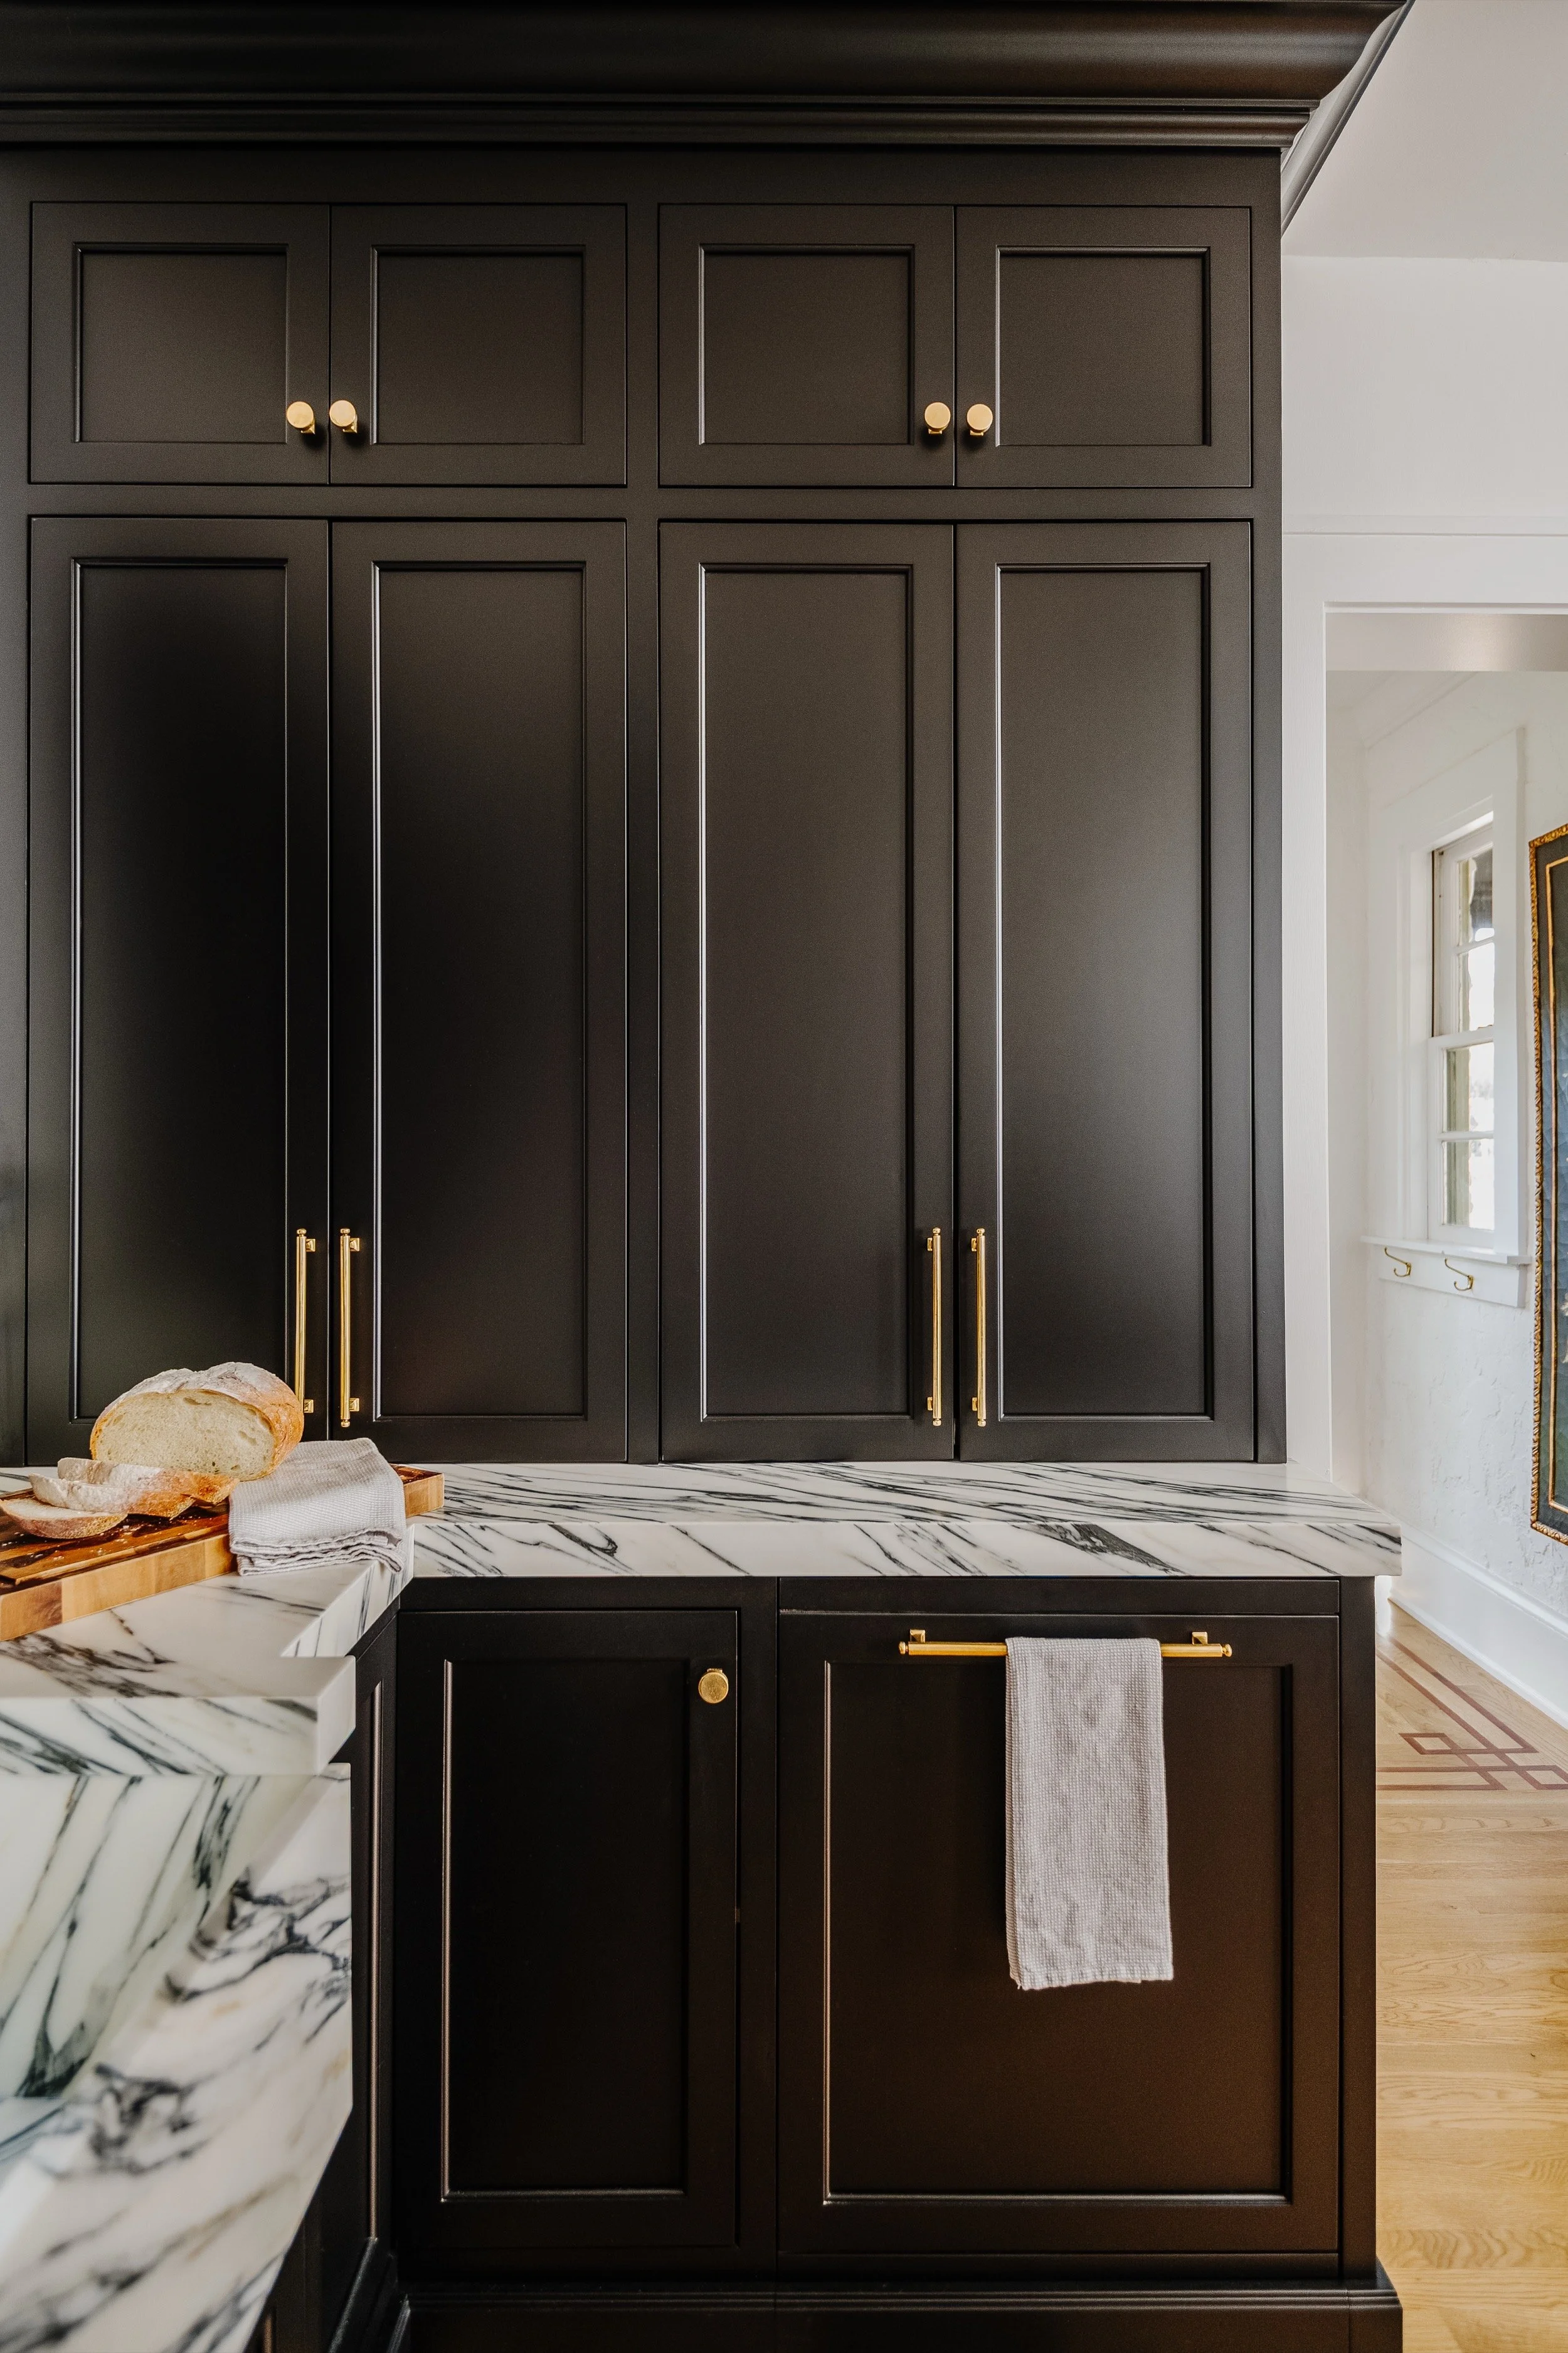
In the kitchen we used inset cabinetry to capture the feel of a historic space. One of the details we worked through with the client was minimizing the appearance of double stiles. A double stile is when two inset cabinets are next to one another. Here, the 1 ½ inch frames doubled up at the two cabinet ends, something that doesn't bother many people, or they simply don't notice it, but Josh had a vision. He didn’t want any double stiles. So the entire kitchen was designed around this.
We combined cabinets where we could, for example, the cabinet to the right of the range is combined with the blind corner cabinet, creating one big unit. Another area where we erased the double stiles was the double pocket door situation. This massive piece to the right of the sink took two guys to put into place. Then, at the sink wall, we made the sink base deeper so the trash and the lazy susan on either side would not make double stiles. This detail worked out perfectly because it allowed for more depth in the custom marble apron sink, therefore enabling us to add that cute toe kick valance at the bottom.
Decorative Baseboards
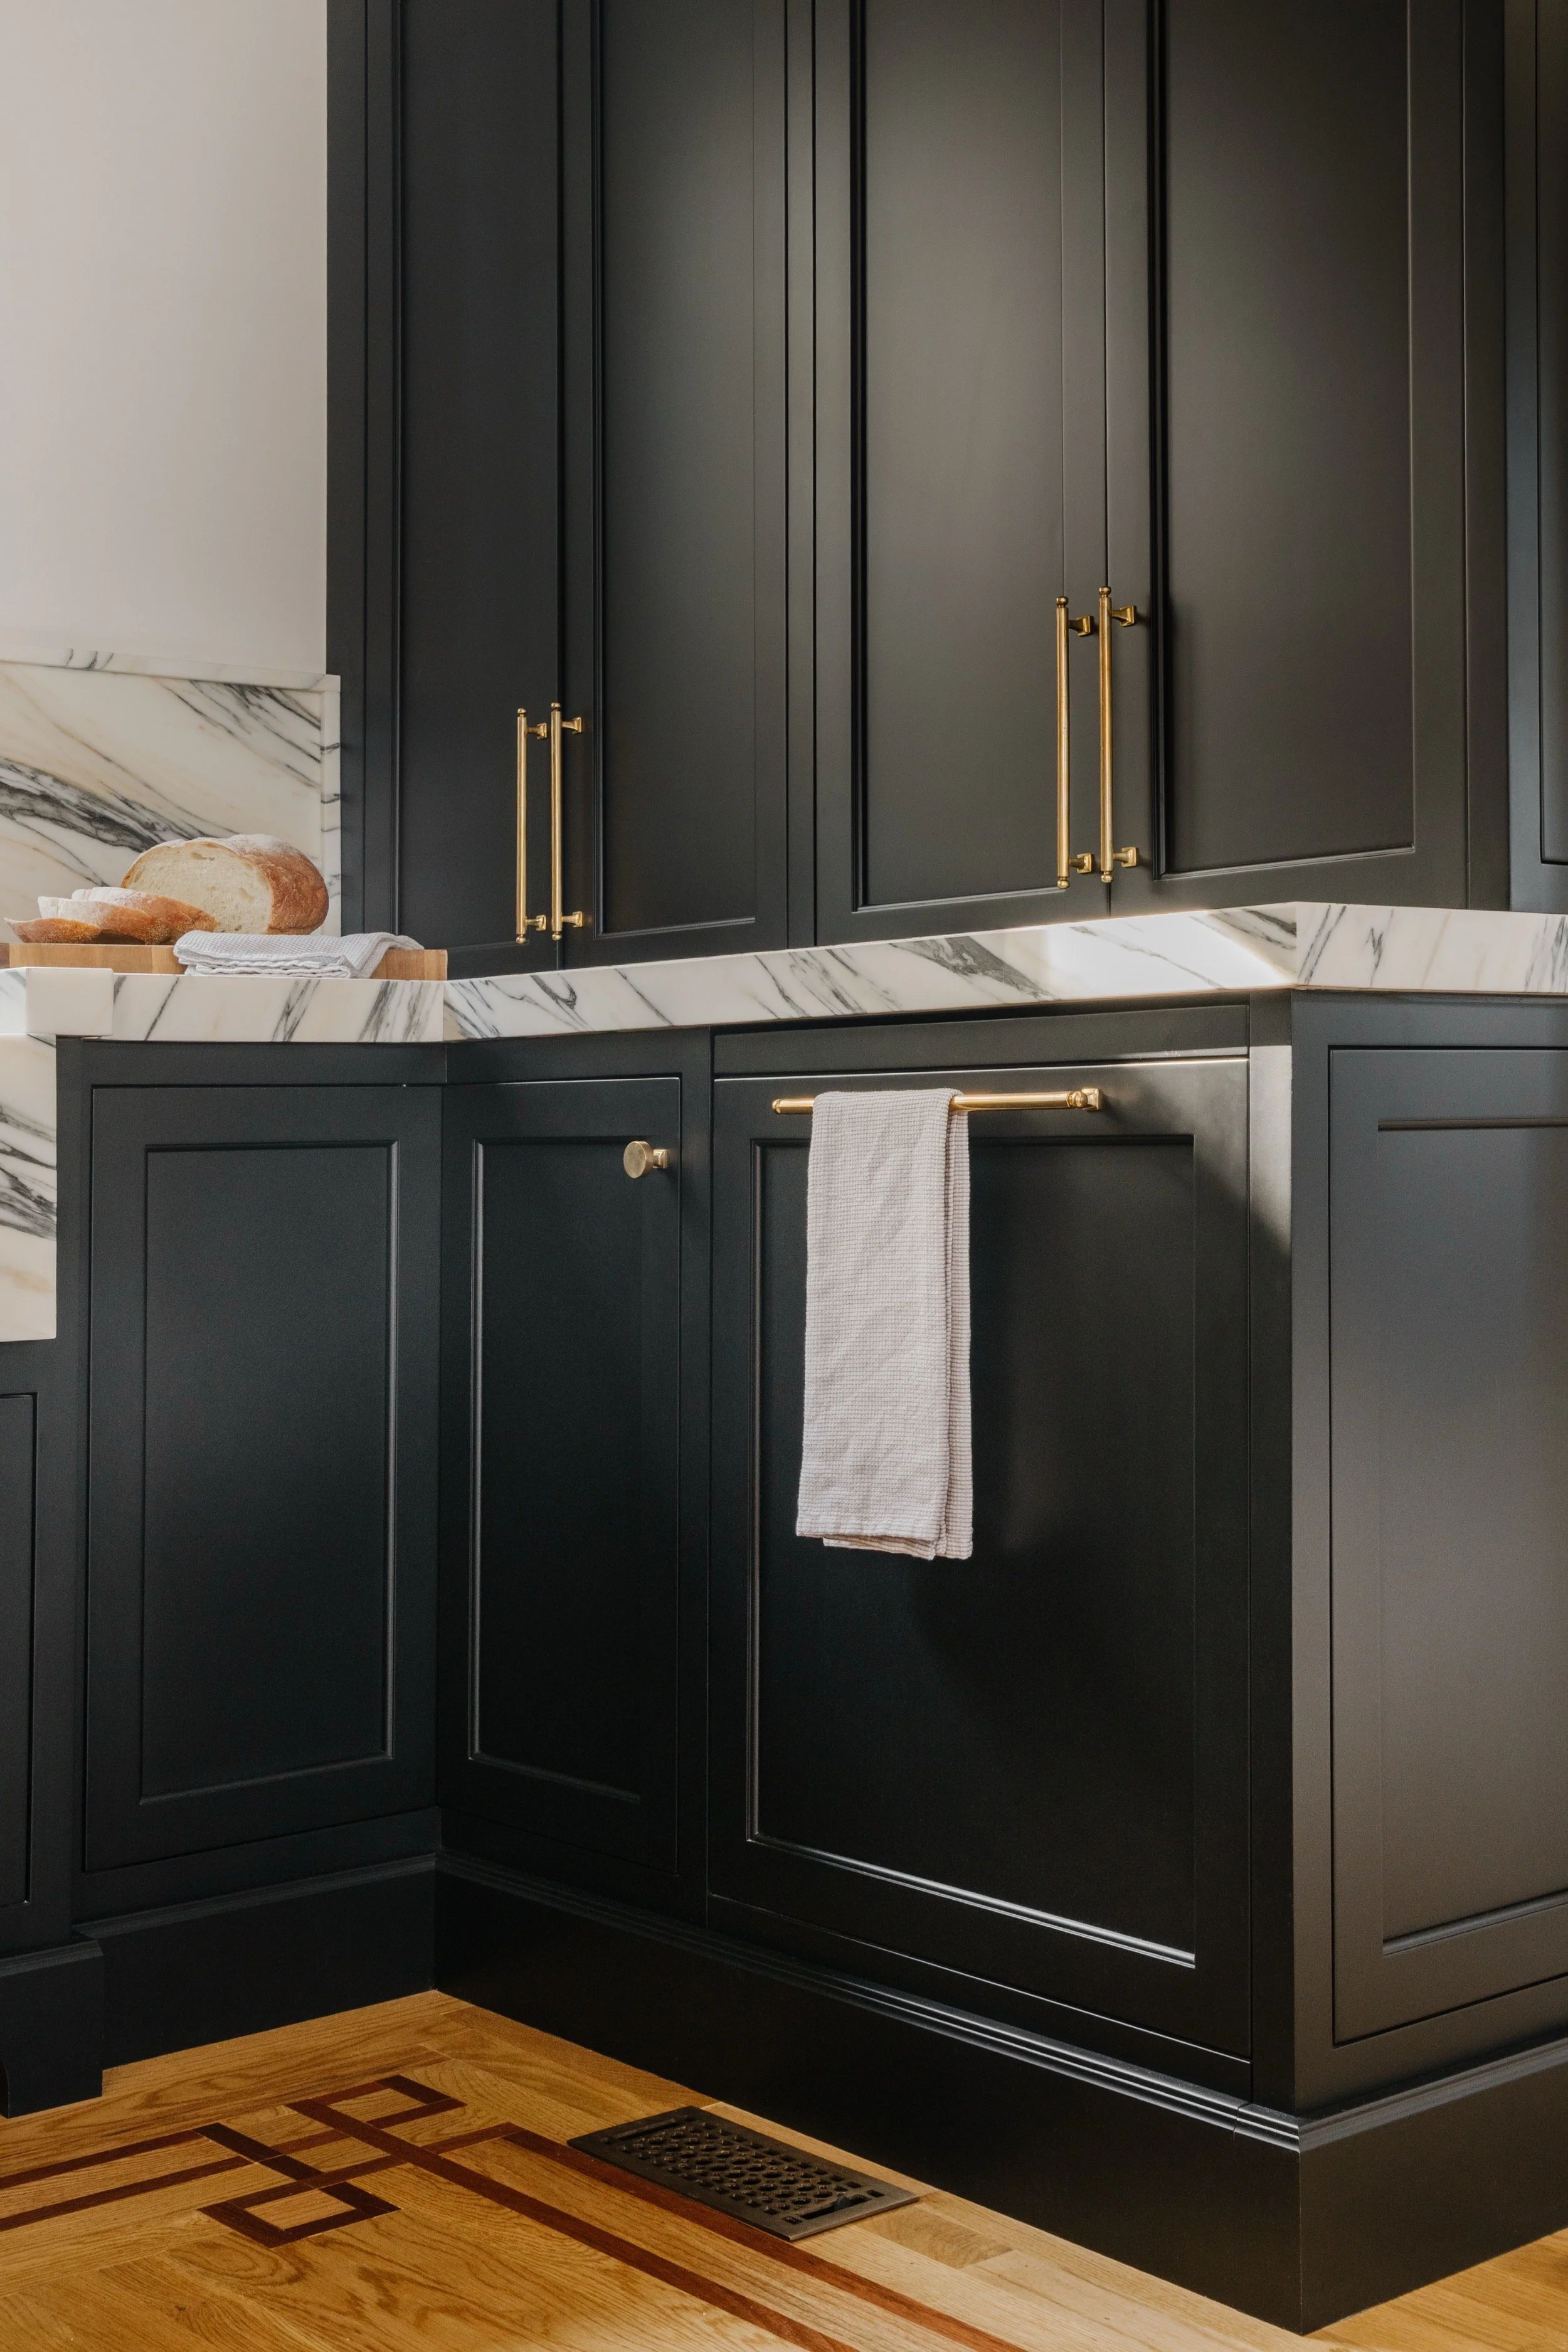
To go a step further with the authentic historic look, the client really wanted flush
baseboards with the cabinetry instead of the standard recessed toe space. This may seem like a small detail, but the small details are sometimes the most time-consuming and impactful to the overall design. This baseboard element affected many parts of the final product that you wouldn’t expect.
Since Josh initially wanted the entire cabinet to be completely flush with the cabinet frame we had to problem solve to accommodate designing with the historic home in mind. In brainstorming we noted that in historic homes, the floors are never flat, so the flush look would have to be achieved by either scribing items to the space or adding a separate molding. Scribing is to cut items to the contour of the wall, floor or ceiling and usually scribing is only done for moldings. Scribing entire cabinets is possible, but it’s gruesome and very expensive. Instead of all of that, I suggested adding a decorative molding that sits in front of the cabinet. With this he could still get the look he wanted and the only thing that needed to be scribed to the floor was the molding.
Another, seemingly small, but essential part of this project was finding the correct appliances, specifically the dishwasher. We were on the hunt for a dishwasher that could be custom paneled to the baseboard and operate safely with a baseboard that sits in front of the cabinet. The brand Gaggenau ended up being just the product to match our qualifications and it looked stunning.